Logs
The Pixel Manager has an internal logger that logs messages of different levels to a file. They are here to help understand what is going on inside the Pixel Manager. The range is from critical errors to informational messages.
Use it with caution, as it can generate a lot of data.
Logger Activation
-
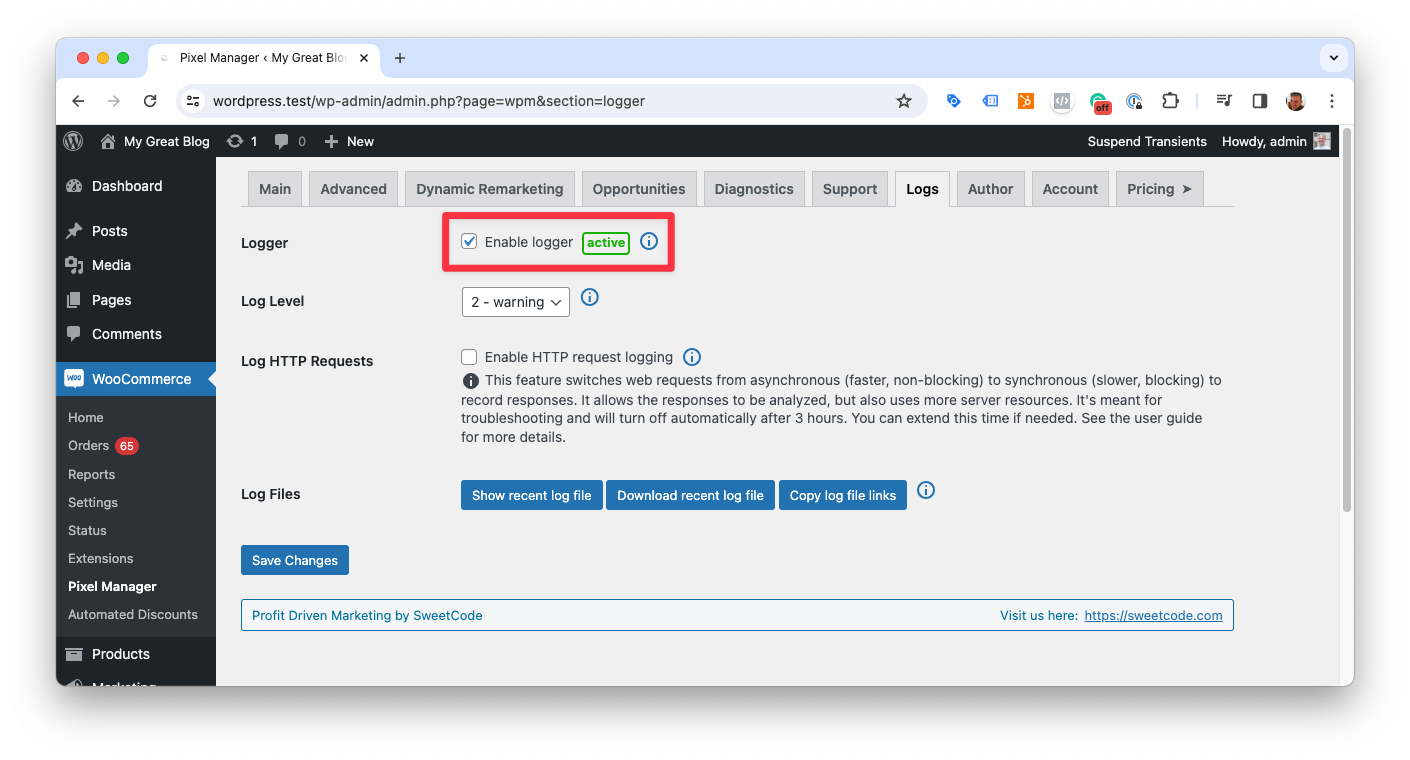
Go to the Pixel Manager's Settings page.
-
Click on the Logs tab.
-
Click on the Enable logger checkbox.
-
Click on the Save button.
Log Levels
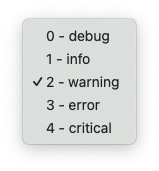
The logger has 5 levels of logging:
- Critical: Critical errors that may crash WordPress.
- Error: Errors that prevent the Pixel Manager from working properly.
- Warning (default): Warnings that should be addressed, but do not prevent the Pixel Manager from working properly.
- Info: Information about the Pixel Manager's activity that is good to know.
- Debug: Debug information about the Pixel Manager's activity. Even more details about the internal activity are logged. Use it only when debugging as it can generate a lot of data.
Log HTTP Requests
When the Log HTTP requests checkbox is checked, the logger will log detailed information about HTTP requests made by the Pixel Manager. This is useful to debug issues with the Pixel Manager's communication with external servers.
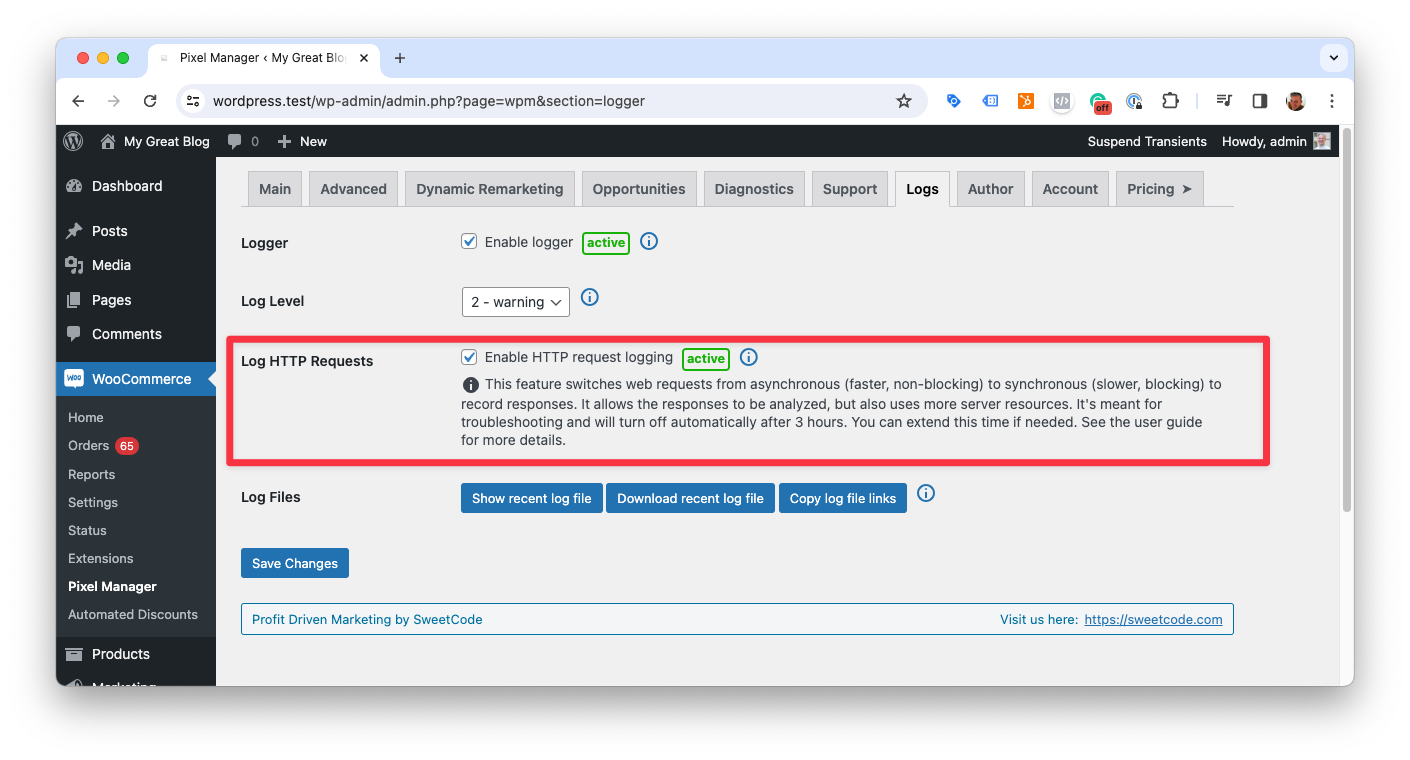
Enabling logging of HTTP requests switches web requests from asynchronous (faster, non-blocking) to synchronous (slower, blocking) to record the server responses. Server responses coming from synchronous web requests can be analyzed in depth, but also use more server resources. It's only meant for troubleshooting and will turn off automatically after 3 hours to limit the impact on the server. You can extend the duration by using the following filter:
add_filter( 'pmw_http_request_log_auto_off_delay', function() {
    return 6 * HOUR_IN_SECONDS;
} );
Accessing Log Files
For simple access to the log files, the Pixel Manager provides buttons to view and download the log files. The buttons are only active when logs are available.
If you have to file a support request, use the Copy log file links button to copy the links of the log files to the clipboard. Then paste them in your support request. It will allow the support team to access the log files directly.
The logs are saved in the regular WooCommerce logs directory: /wp-content/uploads/wc-logs/. The file names are prefixed with pmw-.
