How to Set Up WooCommerce and Google Ads Conversion Tracking in 5 Minutes

Running Google Ads for your WooCommerce store is only a fraction of the job. You also need to know which ad clicks result in purchases so you can measure campaign performance and make better decisions about where your advertising budget goes.
That's where conversion tracking comes in.
Setting it up manually can involve Google Ads tags, ecommerce events, Google Analytics, Google Tag Manager, and other technical configuration. For store owners who don't want to manage tracking code themselves, that can quickly become complicated.
The good news is that you don't have to build everything from scratch. Pixel Manager for WooCommerce can handle the core setup for you, with a free version available.
In this guide, we'll explain how conversion tracking works, how to set it up in about five minutes, and when upgrading to Pro makes sense.
What Is WooCommerce and Google Ads Conversion Tracking?
Google Ads conversion tracking measures what happens after someone clicks one of your ads. For a WooCommerce store, the most important conversion is usually a completed purchase. That said, other valuable actions (such as adding a product to the cart or starting the checkout process) can also be tracked depending on your goals and setup.
The process connects three parts of the customer journey: a person clicks your Google ad, visits your WooCommerce store, and completes a tracked action such as placing an order. Conversion tracking sends this information back to Google Ads.
With that data, you can measure campaign performance, understand which ads and campaigns generate sales, and give Google Ads the conversion signals it needs to optimize campaigns toward valuable actions.
Without conversion tracking, you can still see clicks, impressions, and ad spend. But you won't have reliable conversion data connecting that advertising activity to purchases on your WooCommerce store.
The Easiest Way to Set It Up: Pixel Manager for WooCommerce
If you don't want to manually add and maintain tracking code, Pixel Manager for WooCommerce provides a simpler way to connect your store with Google Ads. The free WooCommerce plugin is designed specifically for ecommerce tracking and has more than 40,000 active installations and over 385 5-star reviews in the WordPress Plugin Directory.
Unlike a general tracking solution, Pixel Manager understands WooCommerce events out of the box. It automatically tracks the relevant ecommerce activity and handles the technical implementation behind the scenes. This means you don't have to configure every event manually.
The plugin supports Google Ads conversion tracking alongside tracking for other advertising and analytics platforms. This means you can manage multiple tracking requirements from one WooCommerce-focused solution rather than maintaining separate implementations.
Once Pixel Manager is installed and activated, setting up basic Google Ads conversion tracking takes only a few minutes.
How to Set Up WooCommerce and Google Ads Conversion Tracking in 5 Minutes
With Pixel Manager installed, you can connect your WooCommerce store to Google Ads and start tracking purchases in just a few steps.
Step 1: Install Pixel Manager for WooCommerce
Start by installing the free Pixel Manager for WooCommerce plugin on your WordPress website.
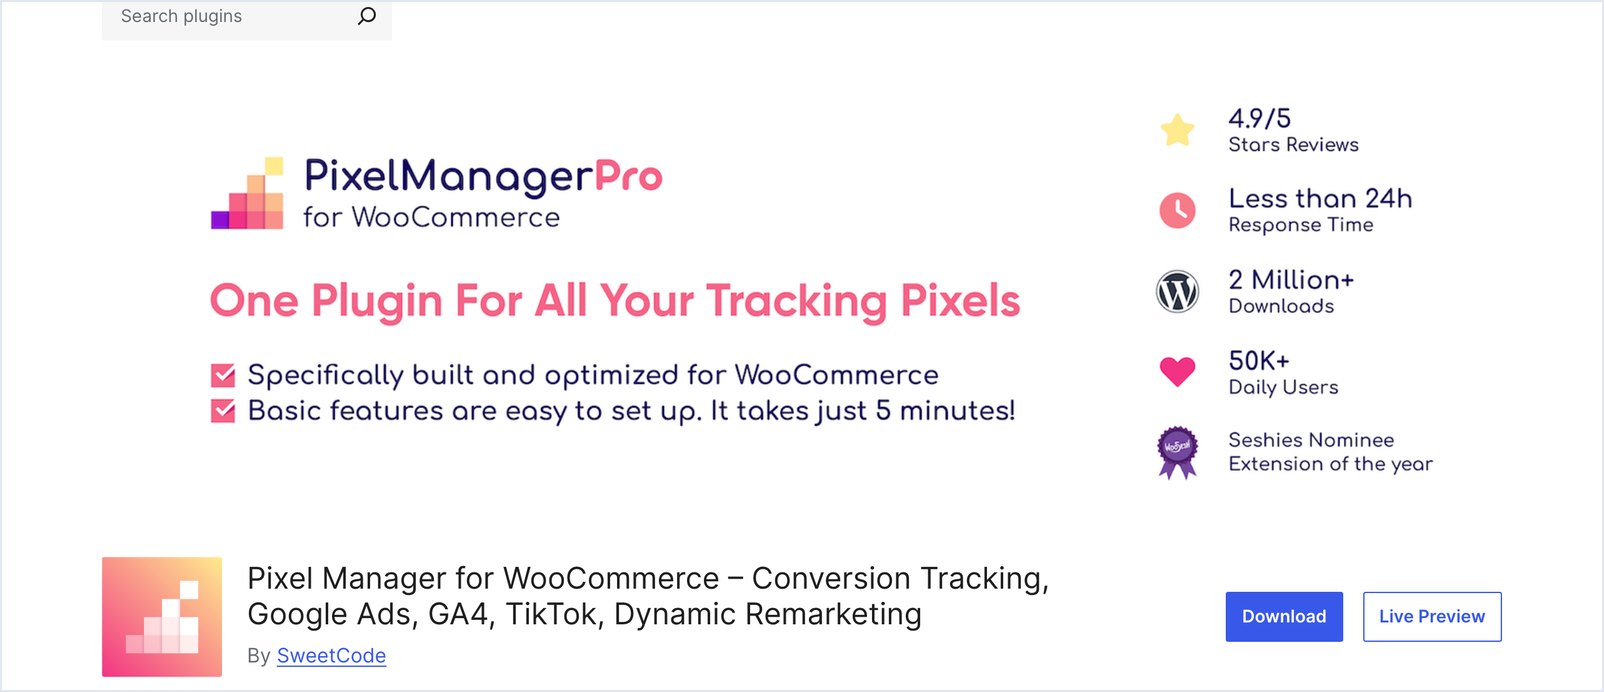
You can install it directly from the WordPress dashboard without downloading or uploading any files manually.
- From your WordPress dashboard, go to Plugins → Add New Plugin.
- Use the search bar to search for Pixel Manager for WooCommerce.
- Find the plugin in the search results and click Install Now.
- Once the installation is complete, click Activate.
- After activation, open the plugin's settings under WooCommerce → Pixel Manager.
Pixel Manager is now installed and ready to configure.
Step 2: Get Your Conversion ID and Conversion Label from Google Ads
Pixel Manager needs two values from your Google Ads account so it knows where to send your WooCommerce purchases: the Conversion ID and the Conversion Label of your purchase conversion action.
- In Google Ads, go to Goals → Conversions and open your purchase conversion action.
- Open the Tag setup section and choose Use Google Tag Manager.
- Copy the Conversion ID and the Conversion Label shown there.
If you don't have a purchase conversion action yet, create one first. Our Google Ads setup guide walks you through it with screenshots and a video, including the recommended settings.
Step 3: Connect Google Ads in Pixel Manager
Now paste the two values into the plugin.
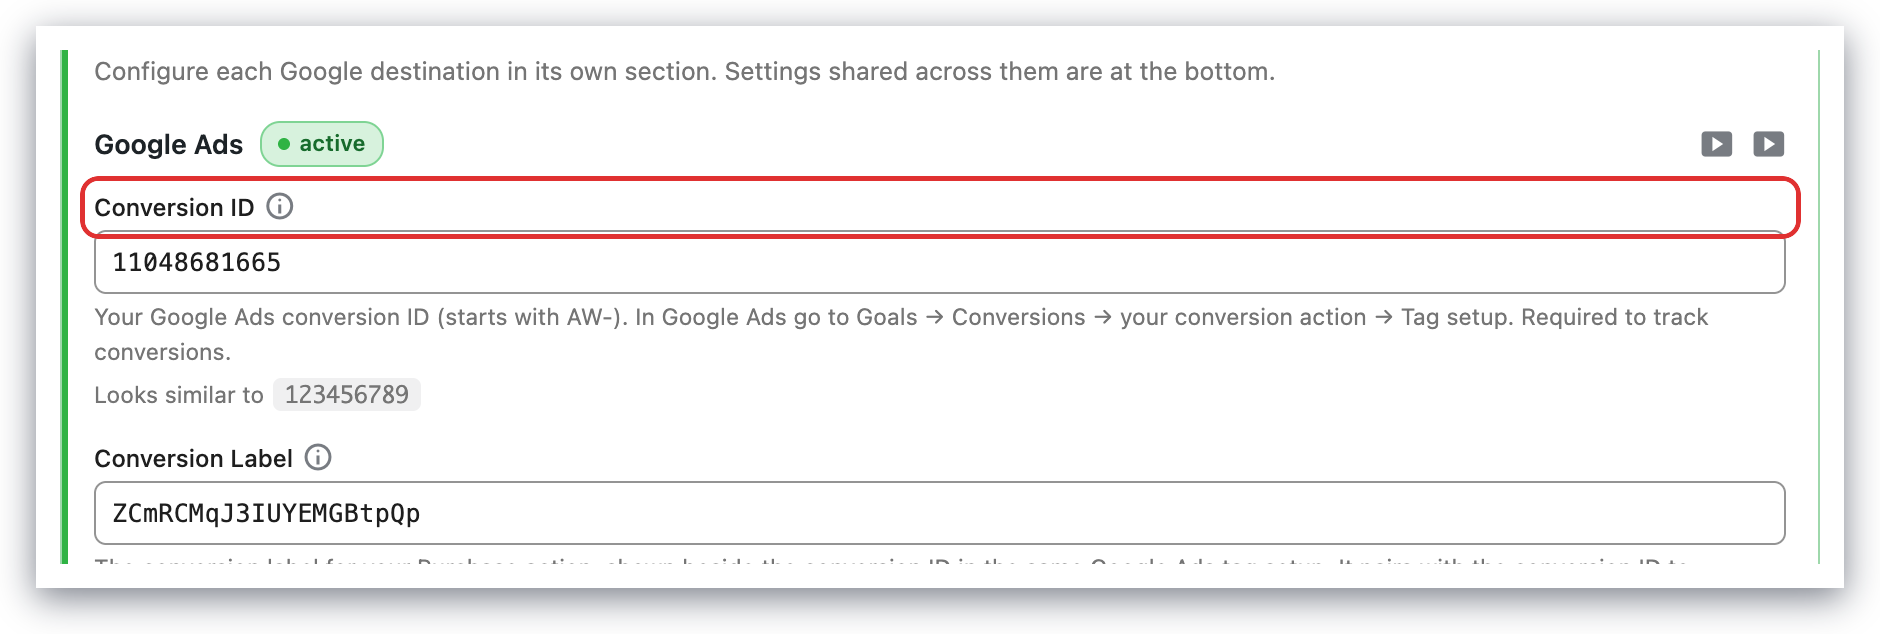
- In WordPress, go to WooCommerce → Pixel Manager.
- Open the Tracking Pixels tab.
- Find the Google (Ads & GA4) section.
- Enter your Conversion ID and Conversion Label in the Google Ads section.
- Save your settings.
That's it. There is no separate switch to turn on and no event to create. As soon as both values are saved, the Google Ads section shows as active and Pixel Manager starts sending purchase conversions to Google Ads, without requiring you to manually add any tracking code to your store.
Pixel Manager automatically recognizes the WooCommerce purchase. When a customer completes an order, the plugin sends the conversion to Google Ads with the order value, the currency, and the order ID, so Google Ads can connect advertising activity with completed purchases and measure the results of your campaigns.
Step 4: Verify the Setup
Before relying on the data, verify that your conversion tracking is working correctly.
- Enable the Console Logger, which shows every tracking event Pixel Manager sends right in your browser's developer console.
- Place a test order on your WooCommerce store.
- On the purchase confirmation page, check that the Google Ads conversion event was sent. You can also use Google Tag Assistant to confirm it.
Testing helps catch configuration problems before you start relying on conversion data for your advertising campaigns. Keep in mind that Google Ads doesn't display new conversion data immediately. It can take some time for conversions to appear in your Google Ads account.
For more tips and answers to common questions, see the Pixel Manager documentation and our guide to testing your setup.
Free vs. Pro: What Can Pixel Manager for WooCommerce Track?
The free version of Pixel Manager for WooCommerce gives stores the core tracking capabilities needed to get started with Google Ads and WooCommerce conversion tracking. It also supports tracking across other major advertising and analytics platforms, so you can manage multiple tracking requirements from one plugin.
Google Ads and WooCommerce Tracking with the Free Version
The free version supports Google Ads conversion value tracking, dynamic remarketing, Conversion Cart Data for Shopping and Performance Max campaigns, and the new customer parameter for Google Ads.
It also includes GA4 ecommerce tracking, basic order duplication prevention, the Google Tag Gateway for first-party tracking, Google Consent Mode v2, and a Payment Gateway Accuracy Report to help identify tracking drops.
Track More Than Google Ads
Pixel Manager can also connect your WooCommerce store with Google Analytics 4, Meta, TikTok, Microsoft Ads, Pinterest, Snapchat, Reddit, OpenAI (ChatGPT ads), and Hotjar in the free version, with even more platforms in Pro. This gives you one WooCommerce-focused tracking solution instead of separate implementations for every platform.
When Does Pro Make Sense?
The Pro version adds capabilities for stores with more advanced tracking and attribution requirements.
These include Automatic Conversion Recovery, Google Ads Enhanced Conversions, Conversion Adjustments for sending refund data to Google Ads, advanced order duplication prevention, and server-side tracking across platforms such as GA4, Meta, TikTok, Pinterest, Snapchat, Reddit, OpenAI, Microsoft Ads and Nextdoor.
Pro also adds further integrations and tracking features, including scroll tracking and automatic phone and link click tracking.
In short, Free covers essential conversion tracking, while Pro adds advanced attribution, recovery, server-side tracking, and ecommerce data capabilities as your needs grow. See what Pro unlocks for the full list.
Conclusion
Google Ads conversion tracking is essential for understanding which ads generate sales from your WooCommerce store. Without it, you're left with clicks and ad spend without a clear connection to completed purchases. The good news is that you don't need to build and maintain the tracking setup manually.
Pixel Manager for WooCommerce makes the basic setup quick and accessible, while supporting tracking across Google Ads and other major platforms from one WooCommerce-focused solution.
Ready to start tracking? Install the free version of Pixel Manager for WooCommerce and connect your store to Google Ads. If you need more advanced ecommerce tracking, attribution, conversion recovery, or server-side tracking, explore Pixel Manager Pro.

